The goal: preserve a story in a 35 mm relief
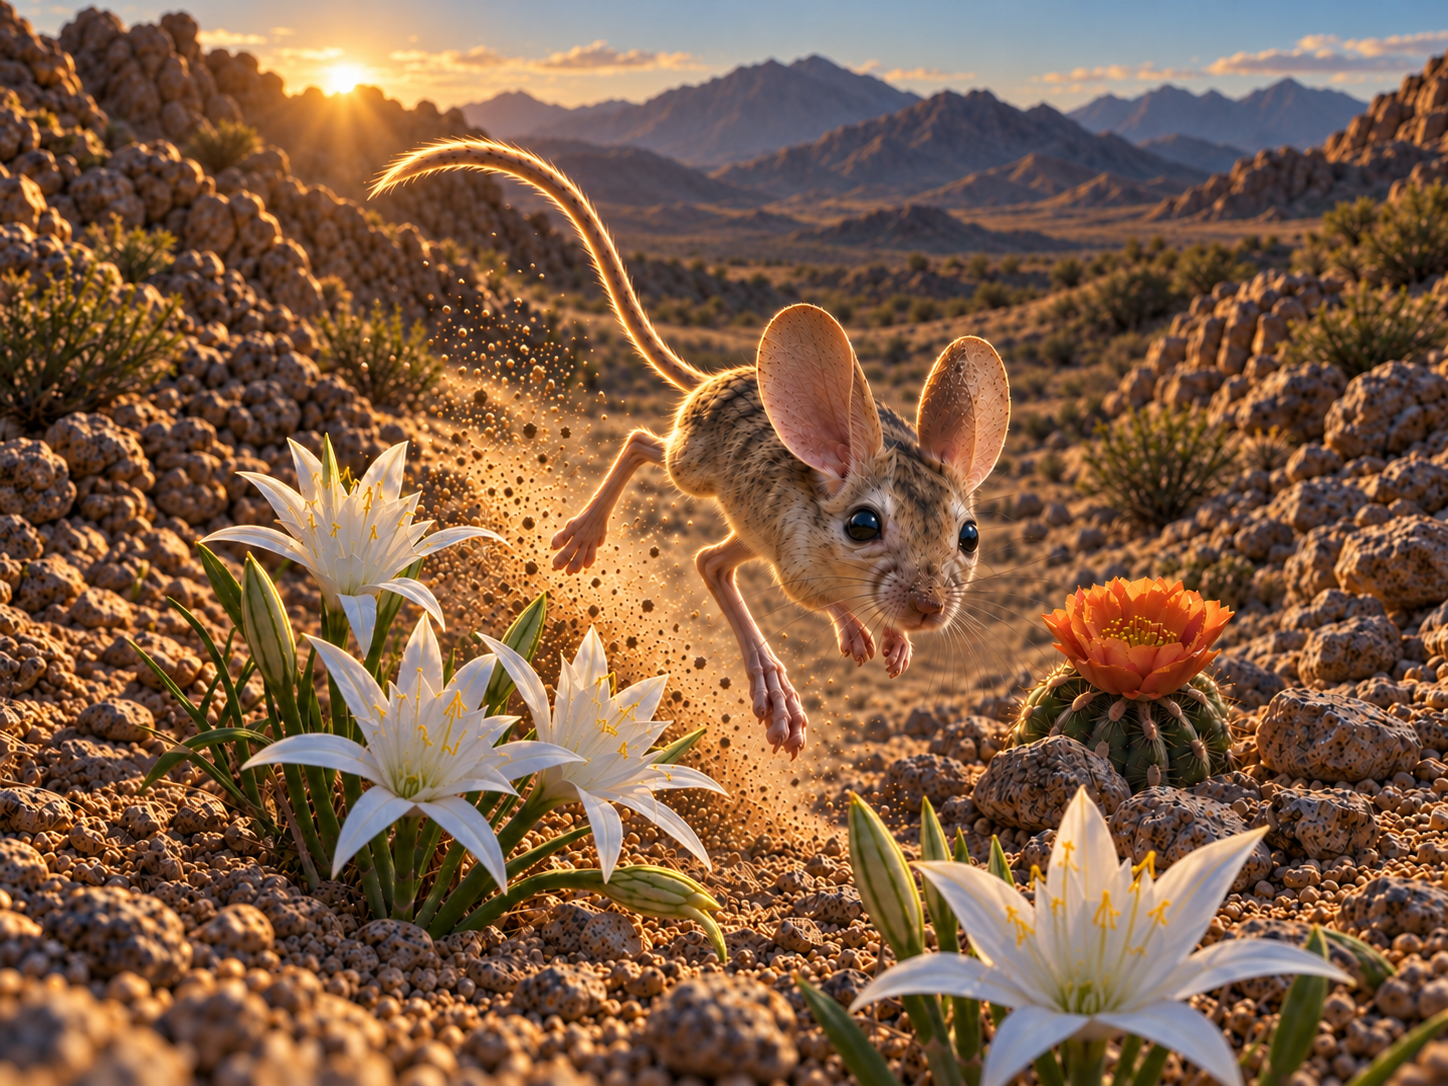
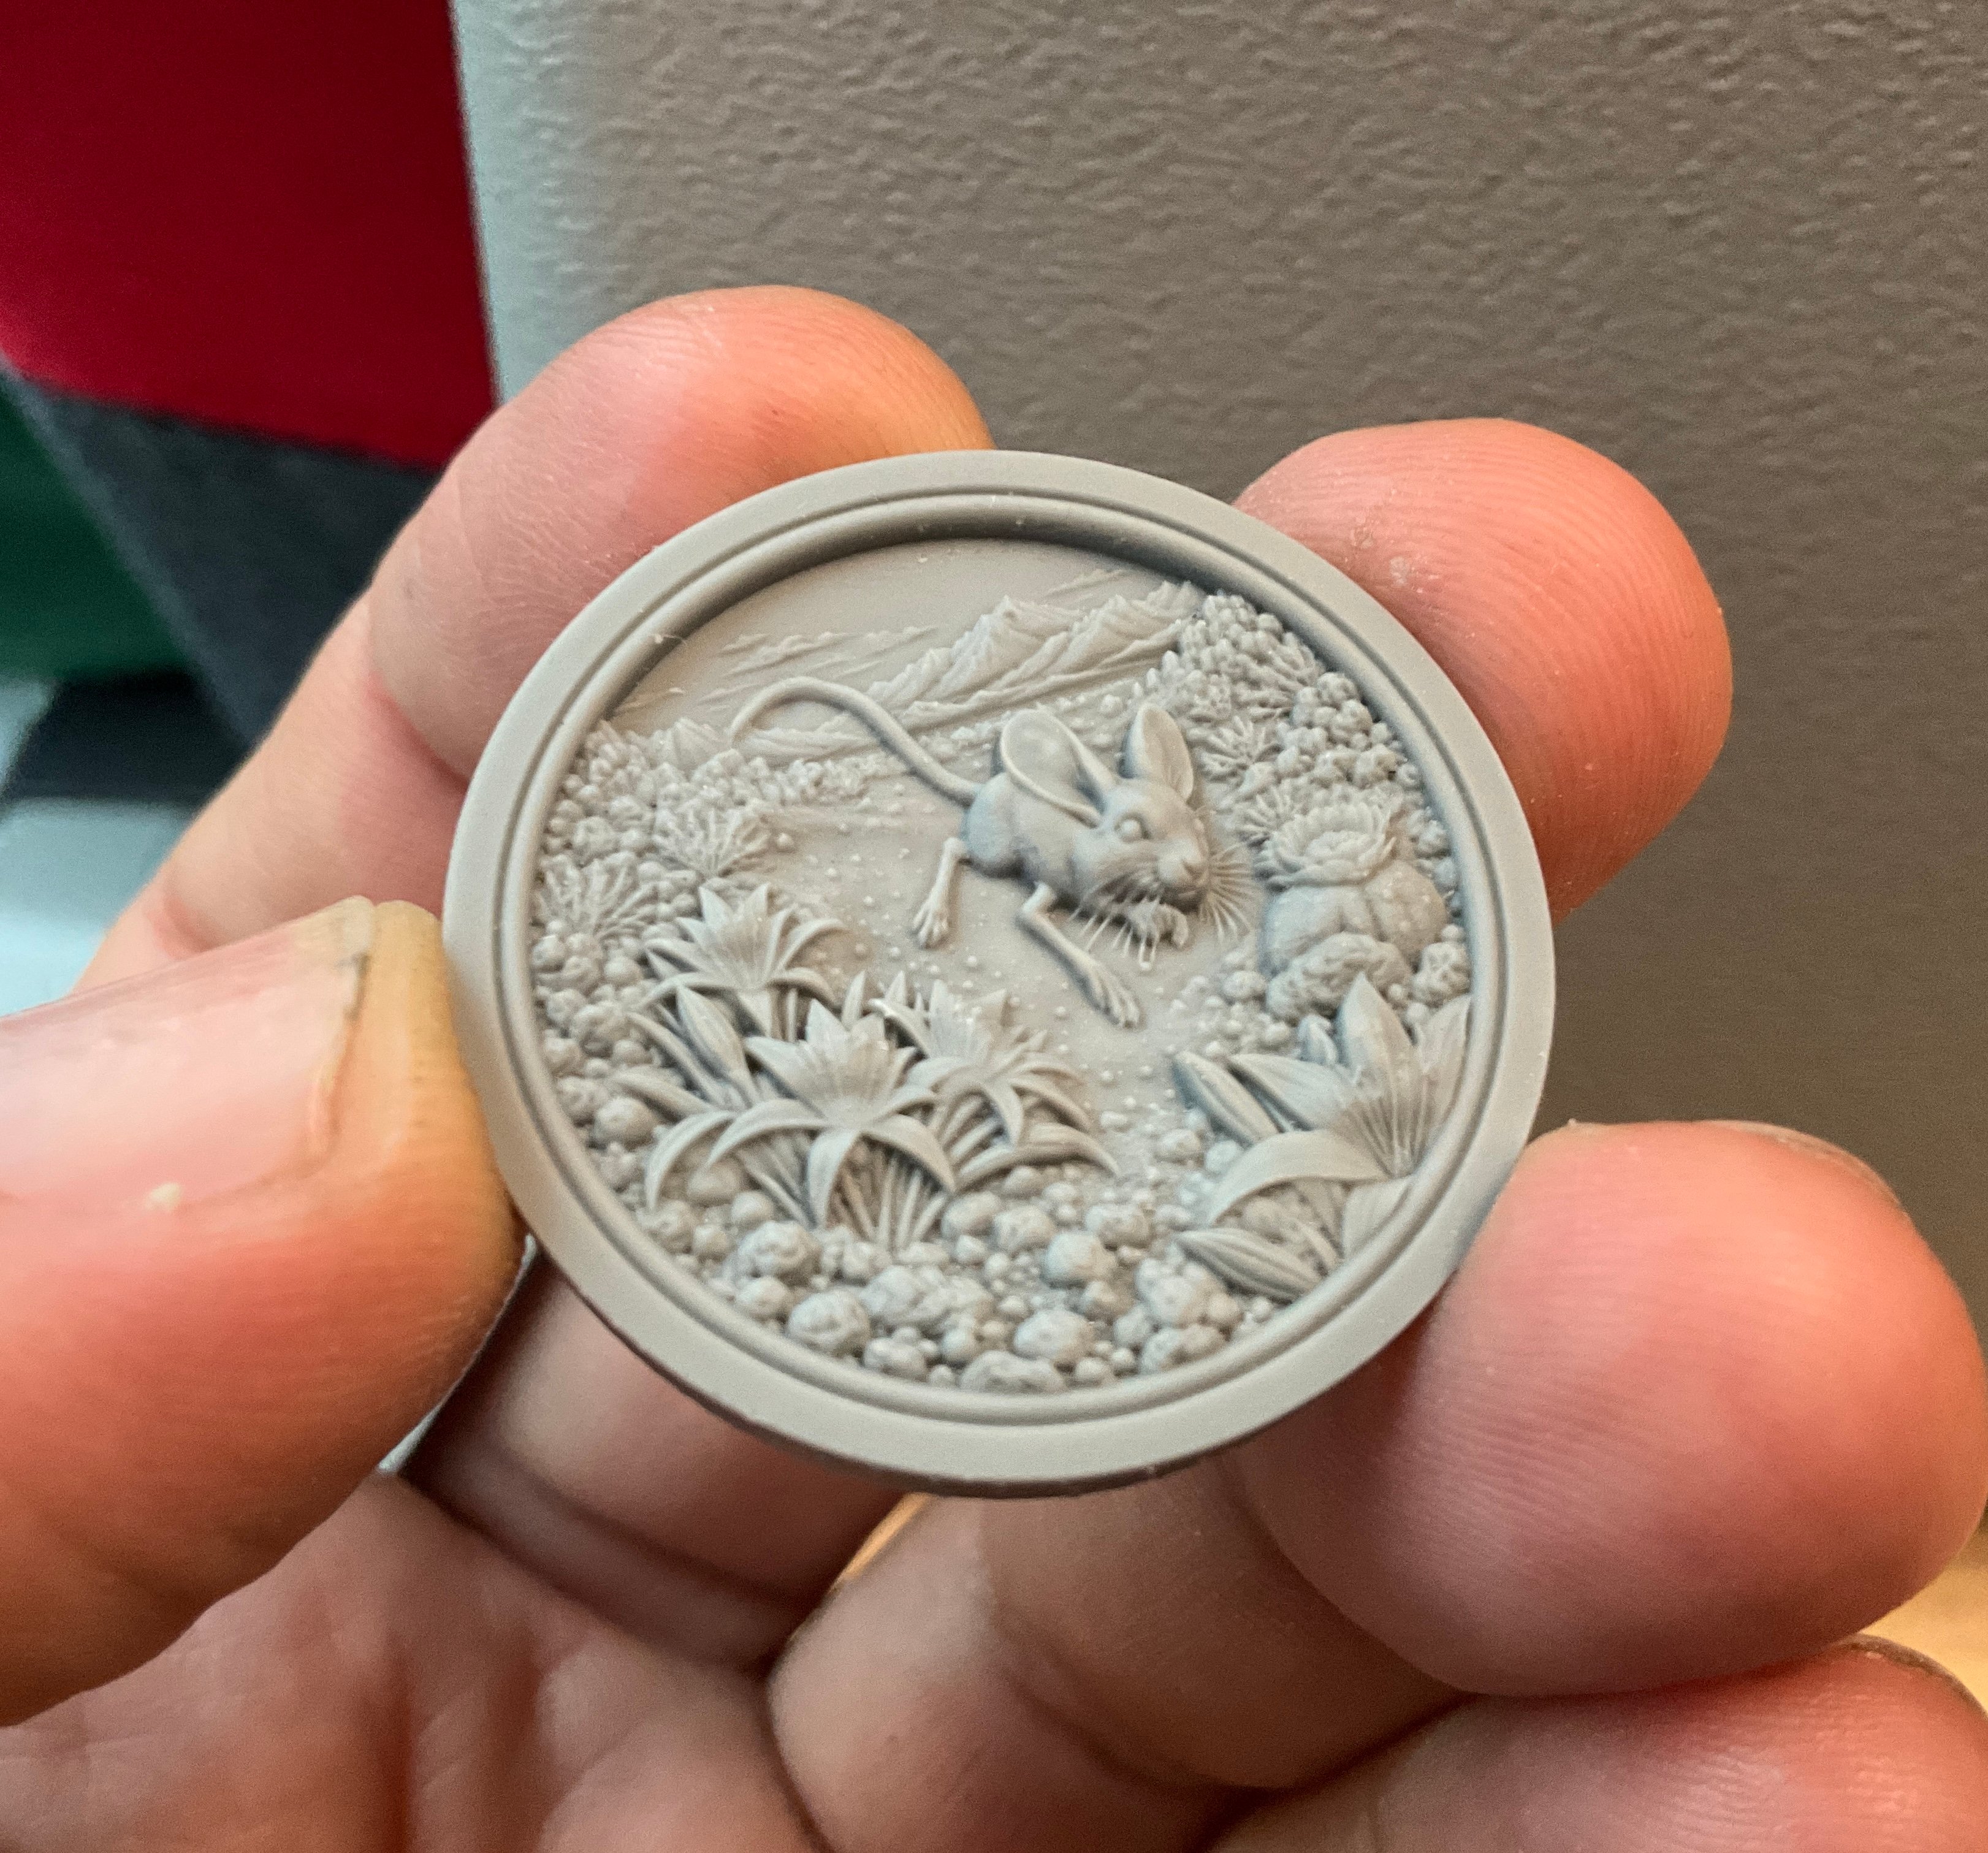
Desert Bloom shows a mouse running through flowers and cacti. The creator describes the contrast between a harsh desert and its delicate flowers, and reports producing the design as a high-resolution resin print on an Asiga printer.
The stated size is 35 mm in diameter and 3.5 mm in height. At that scale, the subject’s silhouette and the separation between foreground plants matter more than the apparent detail in a large shaded render.
Read the source, preview and finished-piece evidence
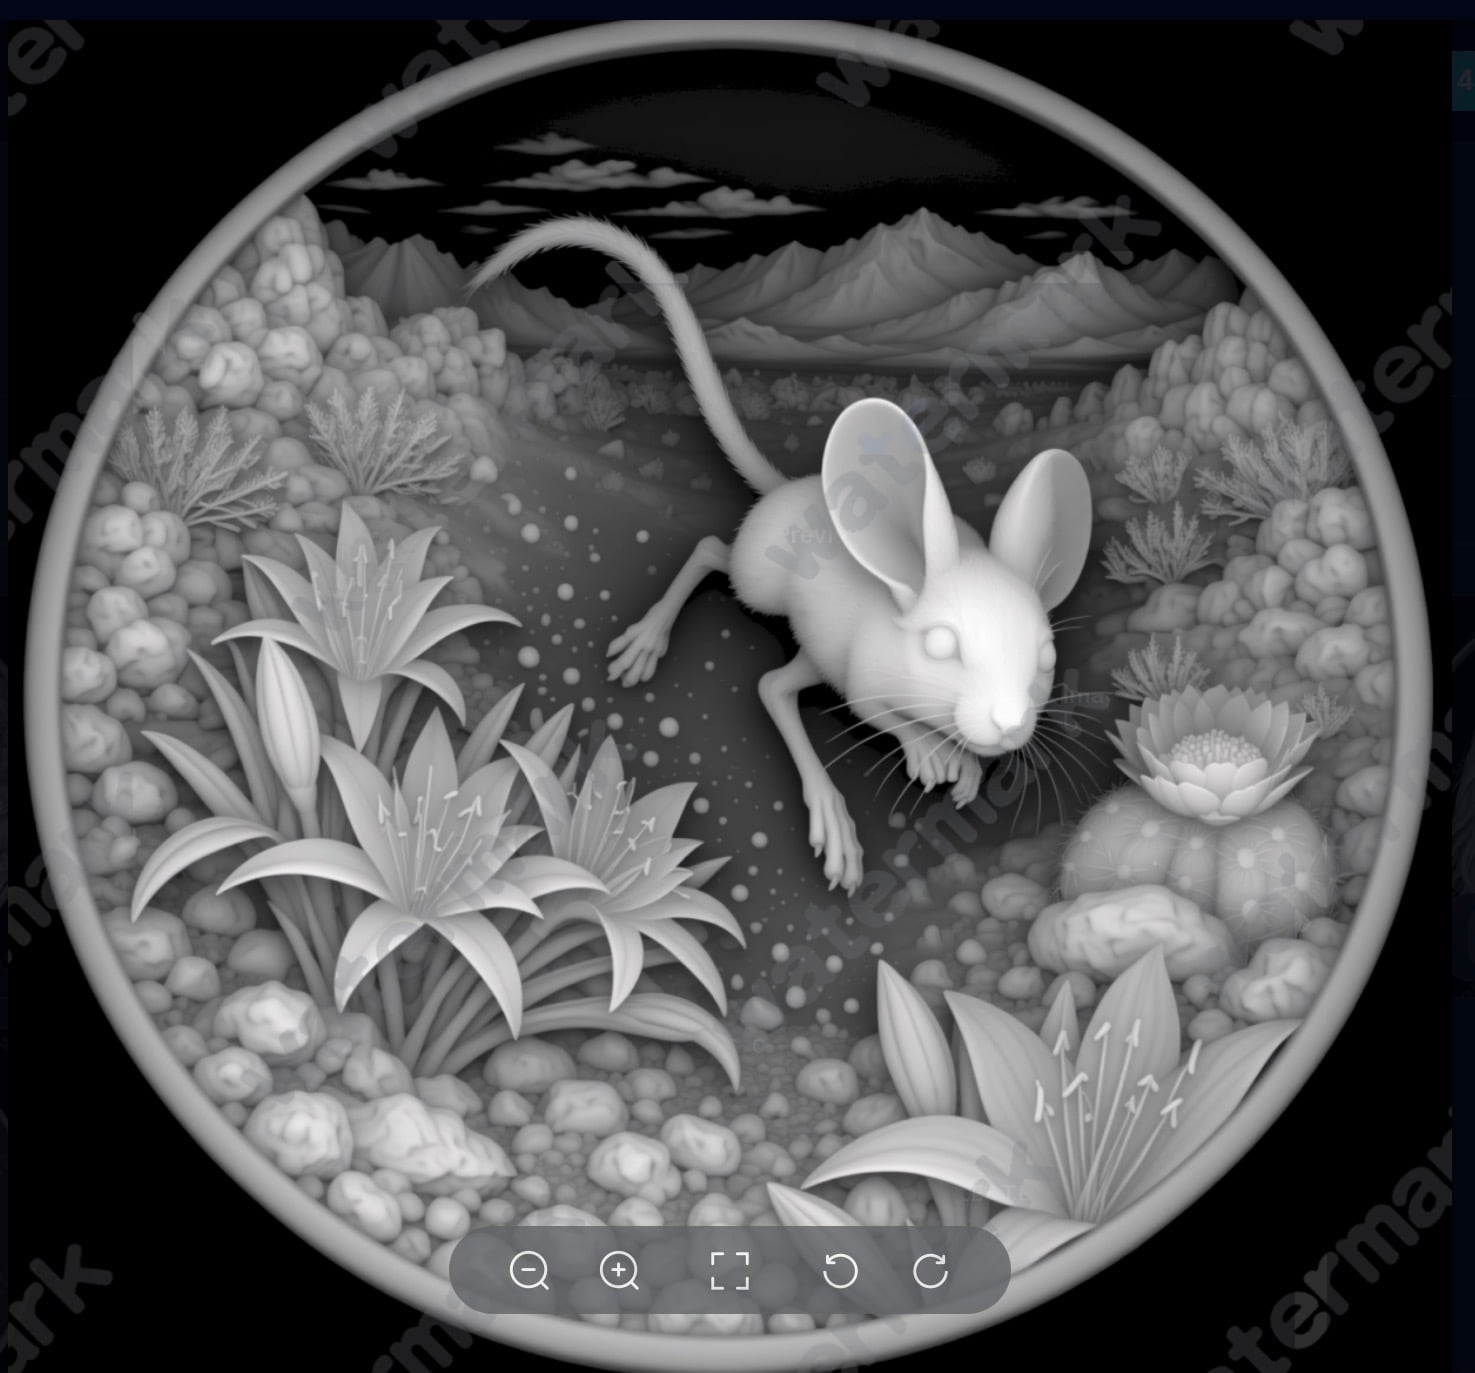
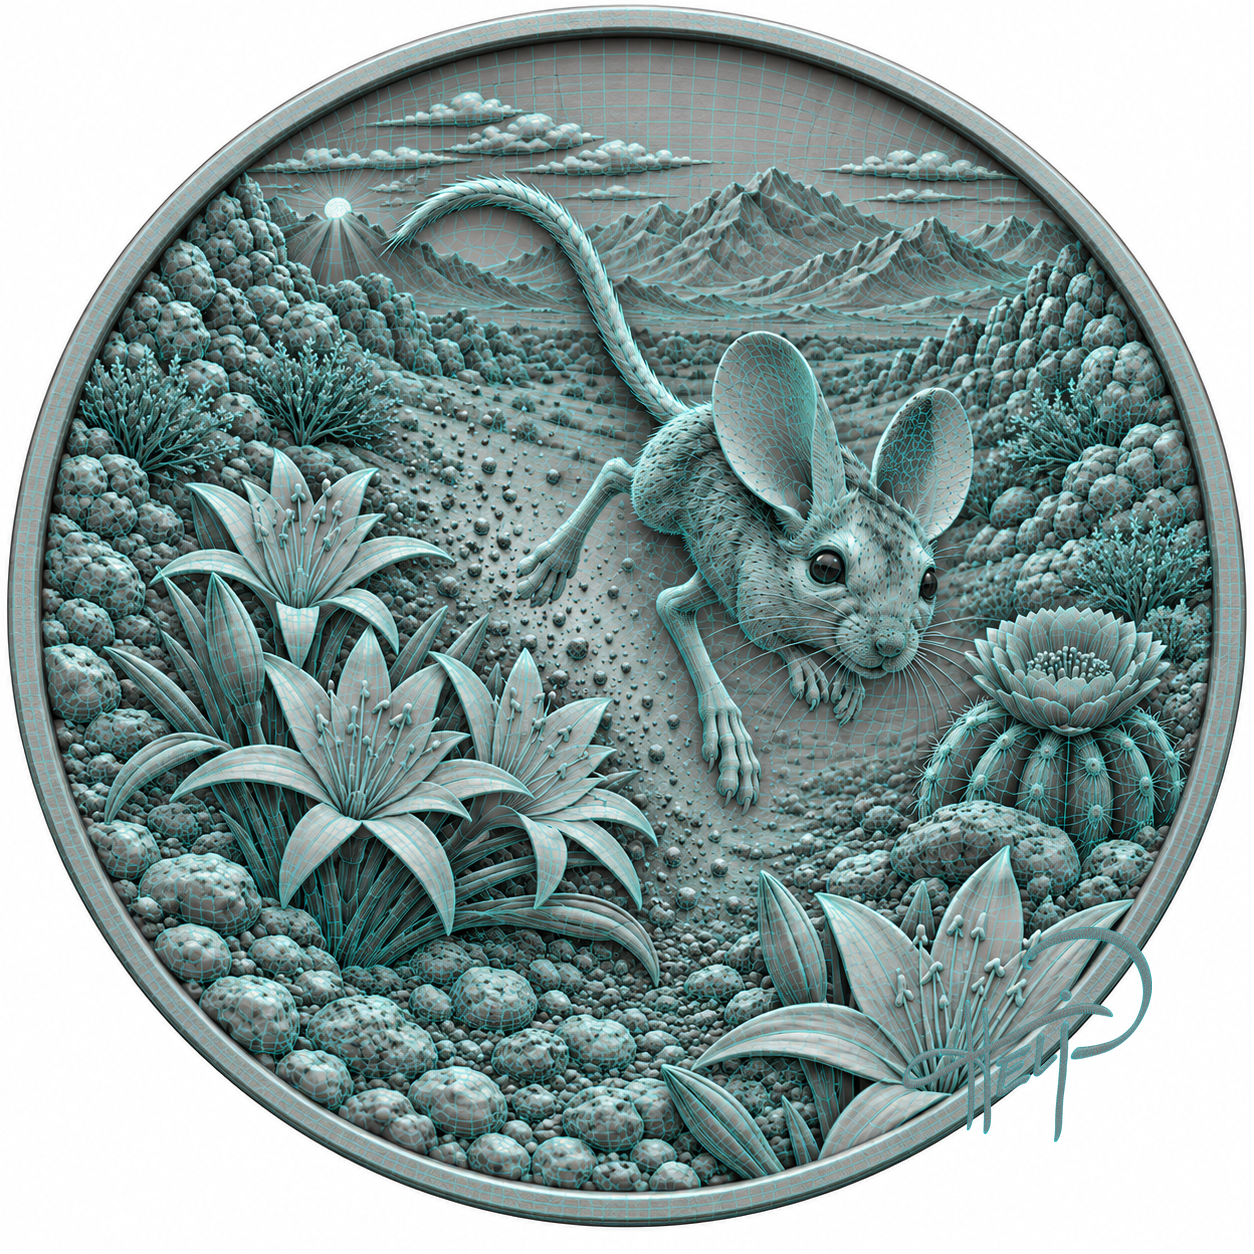
The submission connects source artwork, a SculptOK preview and a photographed physical result. It is evidence of one creator’s completed project, rather than a guarantee that every source image will print successfully.
No raw depth-map file, exported mesh or slicer project is attached to this case. The public account does not name the AI model, printer model, resin, supports, layer height, or exposure time. The 3.5 mm reported height is not evidence of the Min Thickness or Max Thickness values used in SculptOK.
| Evidence | How to read it |
|---|---|
| Source artwork | Shows composition and intended subject; brightness is not automatically a height map. |
| 3D preview and model image | Show a relief interpretation, but do not establish mesh integrity or manufacturing settings. |
| Finished-piece photo and creator description | Support the creator’s report of a completed resin object. Dimensions and equipment are attributed to the creator. |
Plan your own small relief for printing
Generate a depth map from your own artwork and inspect the main silhouette, background, thin regions and crowded details. Where necessary, refine the depth map before exporting a mesh.
In the depth-to-3D tool, set your intended width and thickness range, inspect Invert Image and export orientation, then export the relief mesh. Open it in your slicer to confirm dimensions, minimum thickness, mesh condition and print orientation before preparing supports and exposure settings.
These are current SculptOK workflow instructions, not a reconstruction of Heli P.’s original process. A relief height field represents the visible surface; it does not reconstruct all hidden sides of a complete animal sculpture.
Common questions
What should I check when making a small animal relief?
Inspect the silhouette, separation from the background, thin features and crowded foreground details at the intended size. Review the actual relief geometry as well as the shaded appearance, then confirm the exported dimensions in your slicer.
How do I take a SculptOK relief into a resin-printing workflow?
Prepare the depth map, set width and thickness in the 3D tool, check height direction and export the mesh. Open it in your slicer to inspect mesh condition, orientation and supports, then use settings appropriate to your printer and resin.
How should I use the reported 35 mm size?
Treat 35 mm diameter and 3.5 mm height as the creator’s description of this finished project. Set dimensions deliberately for your own design and check the exported mesh in the slicer; the reported height does not reveal the original minimum and maximum thickness settings.